June 23, 2013

Foggy Remembering

This afternoon I drove out to the Nielsen Observatory to do some sketching. I've been wanting to improve my "sketching-from-life" ability, and yesterday acquired a small notebook to keep handy for that purpose. I'll just say right off the bat. I've had this urge before...a few times actually. I've purchased notebooks, sketchpads, "journals," and each has ended up in a drawer somewhere with nothing but a page or two filled up.

But who says I can't keep trying?

This most recent impulse is largely inspired by my reading of an anthology of nature writing: "This Incomparable Lande," compiled, edited, and introduced by Thomas Lyon (a Utah State University professor from 1964 to 1997). I've been completely captivated by the writings contained in the book, and scattered throughout are lovely black and white illustrations by various artists.

Black and white...just the thing to get my juices flowing!

So, here's my sketch of an afternoon at the Nielsen Observatory (and please forgive my misspelling...spellcheck is a curse!)


Another impetus for this particular sketch is my experience at the last BRAS public observing session. About halfway through the night, a thick bank of low ground fog rolled in, obscuring the view of everything except that which was directly above us. Our equipment was sopping wet to the touch, but in the exceptionally still air, objects at the zenith shone with a steadiness not typically encountered in this region. I'd been considering making a drawing of the scene, and wanted to reference an accurate illustration of the tree line that borders the observatory. So, I went back this afternoon to try out my new notebook.

Here's what I wrote on the page following my sketch.

Trying to remember how this scene looked at our last public event. The star party began at 10:00 pm with a crystal clear sky in all directions--obscured only by a small crescent moon setting low in the west. Saturn. M13. The Ring. Around 11:00 a low ground fog began to move in. In minutes the tube of my Dobsonian was dripping. Lee set up a camera tripod a little ways off in order to take some long-exposure photos of our foggy gathering. The fog thickened. The air was still. Looking straight up to Hercules the sky was jet black with un-twinkling pinpricks for stars. John said even with the fog, this still air is best for splitting close doubles. He scoured Hercules for gems while Mizar and Alcor shone out boldly for young guests. Albireo was steady and faintly colored. Observing lower into the murk, a stargate still led me to the Sombrero--haze within haze. Sounds muffled. Black trees stare out from a gray sea. M7.  Just barely. Green lasers are beacons. Pages curl. Glass fogs. Everything at eye level obscured. We look up into black. 

June 6, 2013

Accentuate the negative

While continuing work on the Black River Astronomical Society's new member's packet, I've looked for ways to break up the text with additional illustrations. And as plans for my more "formal" astronomy series are still percolating, I've continued to experiment with new creative methods.

Sometimes, when Rob finds me bent over one of my drawings for extended periods, carefully filling in great spans of white paper with layers of black sharpie, he'll ask if I've ever considered painting white lines on black paper instead...which would presumably save time and effort. Or why not just adopt a digital format...enabling easy inversion from black on white to white on black...or back again and a mixture of the two? What effect does method have on the final product? How would the appearance of my work change? Would my vision itself become different? Would the quality of line be altered?

Why not start with some simple inversions. Take a picture of a galaxy...


In this case, a Hubble image of NGC 1300 in the constellation Eridanus (the river). If I were to use my usual method of blacking in space on a white paper, this would take forever. Instead, I created a "negative." Using different sizes and spacing of dots, I made the brightest areas the blackest, while also trying to leave white areas for dust lanes and background space. Making those internal white areas appear natural and flowing, as they do in the photo, was the most challenging part. I only hoped that things would look a little better with the inversion.


To invert the photo of my drawing on my mac, I opened it in preview, selected "tools," and "adjust color," and then slid the top black slider all the way over to the right, and the top white slider all the way over to the left...


 Ok, that's interesting.

I see now where I could've refined my detail even more...spent a bit more time getting all those intricate dust lanes to come out. Still, the whole process only took about 1/2 hour, and it came out looking alright...not really identifiable as NGC 1300, but a reasonably clear illustration of a spiraling galaxy. I'll bet I could improve my technique with practice too.

Now for something to help illustrate the concept of "averted vision."

Text from the packet:

"Objects like the moon, bright planets, and many stars are usually easy to see, but when you're observing a very dim object like a galaxy, nebula, or even a faint globular star cluster, a technique called "averted vision" will help you see in much more detail. Rather than keeping your focus in the center of the field of view, instead try looking toward its edge, while simultaneously directing your attention to your peripheral view. You will be amazed at the details that emerge!"

Below is the original "negative" version of the drawing, in which you may recognize the Andromeda galaxy as the subject under observation. There was still a lot of white space to fill in around the edges, but with most of the detail existing in the center, I still saved time and effort. I'm pleased with the result here. Again, not exactly gallery-quality, but perhaps an effective illustration.


I probably won't be going all digital just yet...for one thing, I can't really afford the tools...but this little illustration exercise was still fun and worthwhile.

June 4, 2013

Groundhog Day

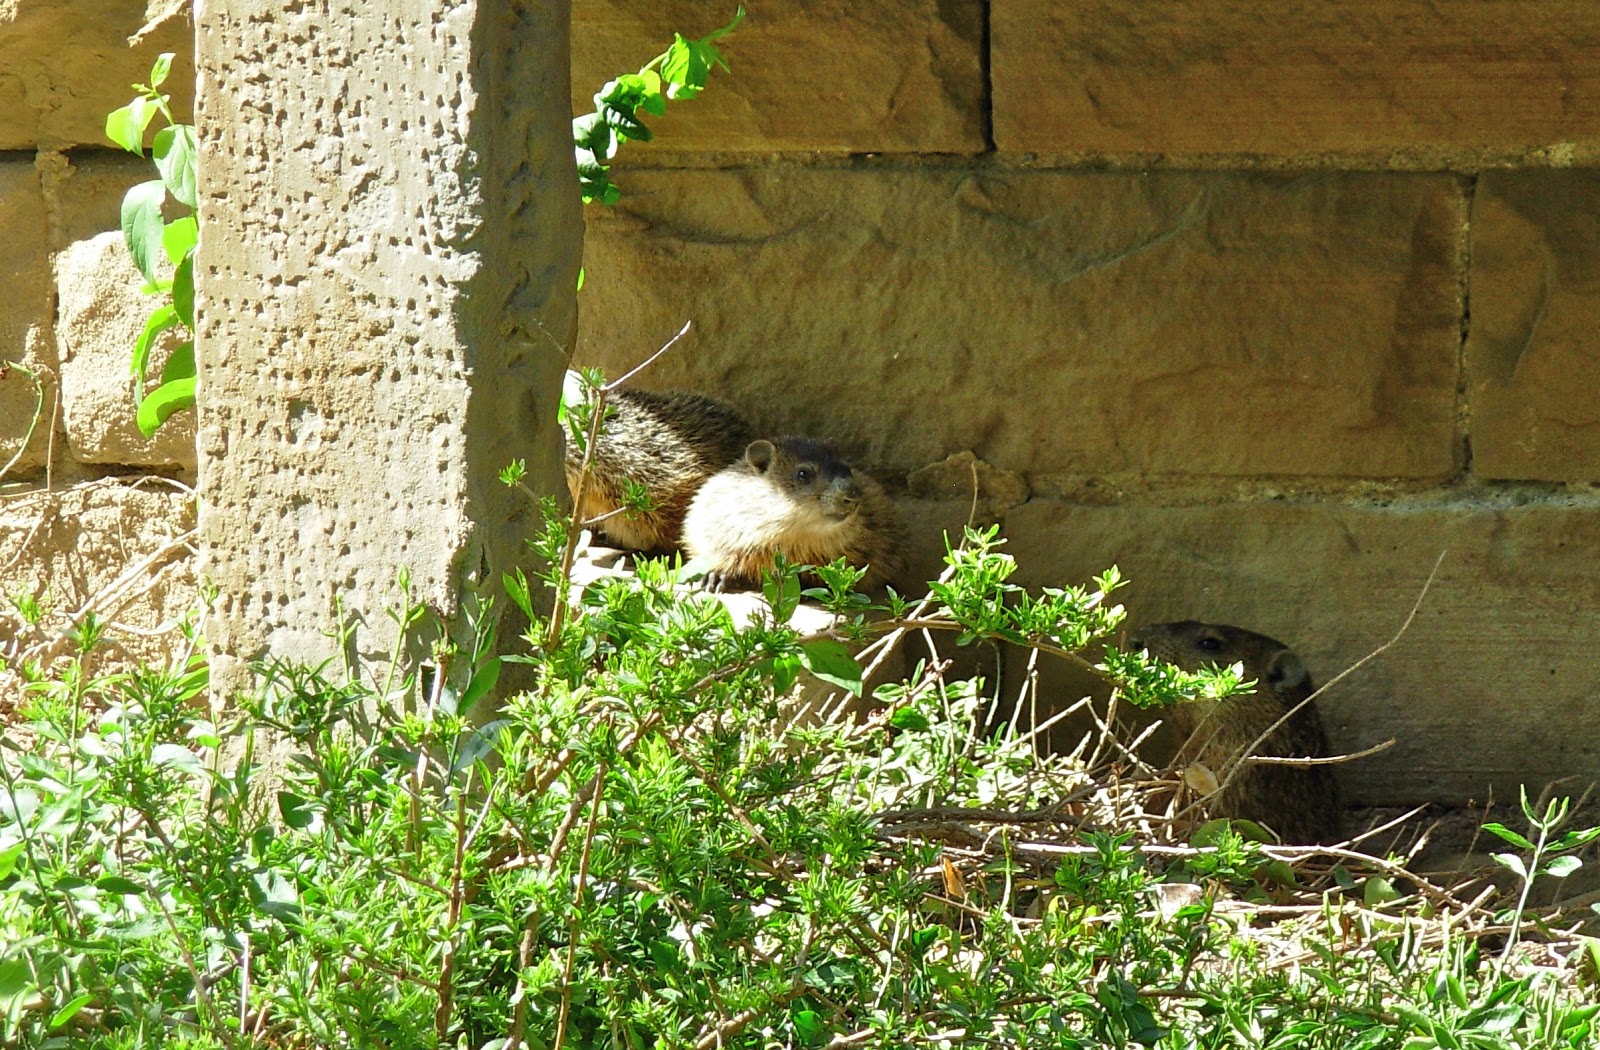
50 points if you can find Mama Groundhog's eye peering out of her den. She's there...I promise...a little above center.


She and her kits had been enjoying a sunny afternoon of leaf munching, when they were rudely interrupted by the sudden appearance of an oddly forbidding statue (me...sitting in a lawn chair with a camera propped upon my knee) just a few feet outside their front porch...

...but there was more munching to do yet! After eyeing me cautiously for a few minutes, she decided to give the ok for each kit to come back out.

One...


                                            ...two...


...and number three climbing out over the top of his long-suffering brother (or sister...I have no way to tell). Zoom in on these photos to see the details of their interaction...it really is quite precious.


That number three was the gutsy one. Vaulting past his two siblings, he bounded out from behind the bushes without a care in the world.


Well, almost. Under Mama's skeptical supervision, he didn't get much past the bushes before pausing to eye me warily.

Eeeeeee! I wish that stray piece of hair would quit tickling my forehead! 


A moment later, they'd all plunged back underground.

...and I finally rubbed away the tickle!

June 1, 2013

In My Own Backyard: 2

Last September I took a field trip out into the backyard to see what the neighbors were up to. Now that it's spring, there seem to be a lot more neighbors to keep up with!

Our resident groundhog has had babies. We've counted up to five. They come nosing out from under the porch next door in the early evening, and sometimes follow their mother out into our yard in a little groundhog train. They've been difficult to photograph...a little camera shy...they just don't seem to know how cute they are! This one's just noticed me and bounded off behind the house a moment after my shutter closed...


All over our yard, flowers are in bloom. I wish I could take credit...


Especially luscious are the peonies. They garland our foundation with enormous blossoms of deep red, soft white...


...and pink with yellow pom-poms.


 Our yard is reasonably large, and stretches back into a cool stand of trees and tall grasses. Well...the grass is tall only because I haven't been great about mowing that far back. There's at least one neighbor that doesn't seem to mind the unkempt lawn. After all, it makes a great place to sit back, relax, and chew your cud without being noticed...she hasn't even seen me yet...


...Oph! Looks like I spoke too soon...


I wonder if she'll be back tomorrow...


After all, where else in town is she going to find such a comfy patch of bedding?


If this is what a neglected lawn looks like in Ohio, I may never mow again!


Well, ok...since it's not my yard, and we've only actually got it for another couple months, I guess I'll do the work. Not today though. I've still got some exploring to do before the thunderstorms arrive this evening. And how could I give up the chance to get up close and personal with these little green hoppers?


Make sure you click on the photo below and zoom in a little. Those green eyes are really something!

May 29, 2013

Scribbles

Since finishing my last drawing, I've had a few ideas for the next one floating around in the back of my head, but nothing that's asserted itself enough to actually inspire a formal beginning.

This latest project of reinterpreting astronomical subjects has been really enjoyable for me. Though most of the drawings have required a mind-numbing amount of painstaking sharpie work, experiencing every small step as definite progress toward a specific goal has helped keep my head above water during a time when the rest of my professional life is mired in uncertainty. I guess that's one thing that has always appealed to me about drawing, and perhaps why I've gravitated toward the stark materials and style that have become my standard. Once a line is applied to the paper, it remains. Once a work is complete, it can be easily and repeatedly viewed in its original finished form without concern for physical alteration. No matter my physical or mental condition, if I need to demonstrate my creative accomplishment, I can always pull out a drawing or two for display.

Creation for a musician, however, exists from moment to moment, and concrete impressions of a performance recede into the forgetful past soon after its final notes have dissipated. True, recordings can mediate this to some extent, providing an exactly repeatable performance at the press of a few buttons, but just as a Van Gogh print doesn't do justice to the texture and color of the original, even the most faithful recording cannot capture the richness and depth of live performance.

A performing musician strives for an elite physical capacity that infuses flawless technique with profound artistry and enables both to be called up in front of an audience on demand. One great performance of a piece does not necessarily guarantee another. Just because I once had a very successful performance of the Arutunian Trumpet Concerto (played here by Tine Thing Helseth), doesn't mean I can just push my internal Arutunian button and play it all again for you right now. Staging a repeat performance would require several weeks of practice and rehearsal. Musical ability is active, dynamic...and impermanent. The highest standards of proficiency must be rigorously maintained. In the best of times, this practice is exhilarating. During tougher times it can can be exhausting, discouraging, and downright terrifying.

I suppose this comparison is a bit simplistic. It's never desirable to sit back and "rest on your laurels" so to speak, and I'm of course always trying to improve my ability as a visual artist as well.

While waiting for my newest formal ideas to gestate, I've been experimenting with new techniques just for fun. I tried sketching more views of the moon through the eyepiece of my borrowed dobsonian, but had quite a lot of trouble. Those sketches went straight into the recycling bin! Though as I think about it now, maybe I should've saved them just as a laugh. In any case, I decided I'd need some practice before going out again, so yesterday I tried sketching a lunar landscape using an online photo as a reference...and as an added experiment, employed scribbling as my method...


The scribbles appearing earlier in this post show a few "details" close up.

In a way, the roughness of these scribbles--the way they resolve at a distance into something resembling a recognizable object--reminds me that all of it...the music, the drawing, my career, my life...is a never ending work in progress. I can't help striving for improvement and even yearning for (an unachievable) perfection, and it's often difficult to forge through tough times still believing that things will eventually work out. But in my better moments I remember to step back and take the long view. Sometimes those scribbles do add up.

May 20, 2013

Cartoons...and Confessions

A couple weeks ago I volunteered to put together a "New Member's Guidebook" for the Black River Astronomical Society. I'd been thinking of making a packet like this for quite a while...in truth, the idea began the morning after I high-beamed a group of SLAS members who'd gone up the canyon for a special members-only new-moon-weekend star party.

I was a brand new member of the club and excited to get involved, so when I saw the outing advertised on the SLAS calendar, I resolved to make the trip. These private observing sessions are held around the new moon so that club members can take advantage of the darkest skies for personal observations...a special treat after all the other public events. It had been a while since I'd seen high mountain skies so far from city lights, and I was eager to experience what was possible through a telescope in such conditions. Not owning a scope myself, and wanting to be as unobtrusive as possible, I decided to go up a little after dark (fashionably late...of course) and then only stay a short while.

I had a harder time than anticipated finding the site and ended up creeping up a long gravel road, scanning the blackness ahead with headlights blaring. I came upon the observing site a little unexpectedly, and realized my mistake only after seeing the whole collection of scopes and operators bathed in glare. Angrily embarrassed at my faux pas, I parked the car at the side of the road a little ways down from from the gathering and spent the next few minutes trying to guess if anyone had recognized me. I ended up just heading back home and hoping that no one had been able to identify me or my car. "Maybe they would think a random person was lost and had just come up the wrong road..." I thought.

That I had ruined everyone's night vision was certain, but I prayed hard that no one had been imaging at the time. My naive mistake could have made the very worst of first impressions. I worried about all the other unique little customs and courtesies I might not know about, and wished someone could give me a rule book or manual to prevent me from ruining another night of otherwise clear skies. So when the topic of observing etiquette came up in a discussion of some white-light issues at a recent BRAS gathering, I volunteered to assemble such a guide.

The final document is still in process, but I got a big chunk of the first draft done today. A couple of board members provided me with relevant material they'd previously written, and I've been editing that and combining it with a few of my own ideas, while livening things up with a cartoon here and there. Here are two I added today along with bits of accompanying text that I wrote (I'll leave out other's stuff just to be on the safe side permission wise)...

How does an amateur astronomer get started? This question is one of the most commonly asked amongst our new members. Almost everyone has experienced enjoyment of the night sky at some point in their life. Whether counting shooting stars as a kid, taking a romantic stroll in the moonlight, or getting caught up in the excitement surrounding an eclipse or close conjunction of planets, celestial objects and events have captured our imaginations for as long as we've had them. But when considering taking this enjoyment to a deeper level and pursuing astronomy as a hobby, its easy to get distracted by all the fancy lingo and gadgetry, and assume that you need to both spend a lot of money and be a technical genius in order to participate. Nothing could be further from the truth!

...and the document goes on to describe easy and affordable ways to begin discovering the night sky.

Observing etiquette is covered in a later section (primarily written by another member), and I made this little cartoon to illustrate his admonition to keep white lights (including flashlights and cell phones) from interfering with everyone's night vision...


The cartoons are a little rough...I'm no professional to be sure...but hopefully they'll add some personality, get a laugh or two from seasoned club members, and help to better initiate a few innocent newbies.

May 13, 2013

Varieties of Light

What types of light could you expect to see at a star party?
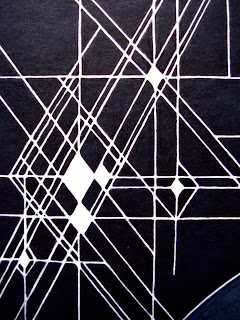
Well, first I suppose there's the obvious: starlight...though the amount and quality would vary significantly depending on local conditions. Temperature, humidity, and air pollution certainly play a role, as does light pollution. Whether or not you're in or near a big city, underneath a streetlight, or perhaps temporarily blinded by an unwitting cell phone user, can all mean the difference between sailing away on the Milky Way's starry billows, or straining just to make out the constellations.

Starlight is emitted light: light born of atomic reactions deep within the cores of distant giants. It shines forth across unimaginable distances, and can afford us a tantalizing glimpse into the past. Some of the photons of starlight we see today originated when the dinosaurs walked the Earth, when the first humans ventured out from prehistory, when Mozart wrote his first symphonies, and on the day you were born. The light from our nearest star, the sun, only left its surface about eight minutes ago, but its reflected rays afford us some fascinating local subjects of observation.
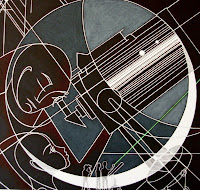
The second brightest object in our night sky, the moon, shines only through reflected sunlight, but can still be brilliant enough to interfere with our views of fainter astronomical objects like galaxies, nebulae,
and even stars. The best time to explore the night sky is when the moon is just a thin crescent...or at least a quarter or less illuminated. This is also the best time to view some of the moon's most interesting features, as shadows along the terminator cast lunar mountains, craters, and valleys into sharp relief. Even as a crescent, the fullness of the moon may still be visible. Our planet, with its swirling clouds, snowy mountain ranges, and ice caps, reflects enough sunlight to brighten our nearest neighbor with a pale glow called Earthshine. The translucent gleam of this secondary reflection can lend a magical feel to late evening or early morning observations.
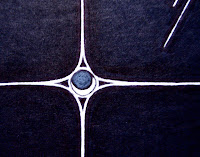
Planets within our solar system are also made visible to us through reflected sunlight. Because it orbits closer to the sun than we do, Venus can be seen to go through phases just like our moon does. Its disc waxes near full when on the far side of the sun, and then wanes into a thin, but larger crescent as it ventures back onto our side. Because of its proximity, and the fact that its surface is completely covered by a thick layer of highly reflective clouds, Venus shines brightly in crepuscular skies: its apparent magnitude rivaled only by the moon, the international space station, and the occasional iridium flare.
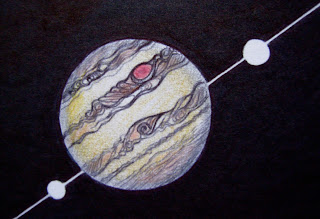
Less bright (but no less showy), Jupiter and its cadre of moons dance across the sky like a circus in slow motion. Though distant, this immense planet is always fully illuminated by sunlight, and every night displays a different configuration of surface detail and moons. Had it been just a bit more massive, Jupiter may actually have become a star...and our view of the sky at this star party would be much different!
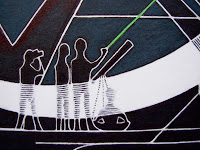
To help direct viewers across the map of the sky, star party enthusiasts often point things out using a highly focused variety of emitted light: a green laser. The beams seem to reach to infinity as they scatter through the atmosphere and show the way to distant celestial wonders. And no star party would seem complete without the muted cast of dim red lights. Such lights help illuminate maps, equipment, and step ladders without interfering with the eye's ability to dark adapt. When fully dark adapted, a process that takes about half an hour, the dome of the sky deepens invitingly, and faint details can emerge from an otherwise featureless gray smudge centered in a telescope's eyepiece.


If you want to make an astronomer happy (or just keep him from getting VERY upset), avoid using white light...including white flashlights and cell phone screens...anywhere in the vicinity of his setup. Though the dark might seem overwhelming at first, you will be surprised at just how much your vision acclimates to the conditions. A very dark sky only better displays the great amount and variety of light that surrounds us. In very dark locations, some say the Milky Way even casts a shadow.
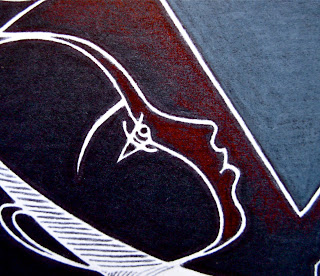
After all is said and done, most would agree that the best kind of light readily observable at every star party, is that which comes into the eyes of a new observer when they first see the rings of Saturn, the shimmer of a globular star cluster, or mountains on the moon. This light is also sustained in the eyes of a more seasoned participant by viewing and studying the same. That light was ignited in me after I spontaneously pulled into the parking lot of a Harmon's grocery store in Sandy, Utah, curious about the forest of telescopes that had sprung up out of nowhere...and the rest, as they say, is history.

So...

Three cheers for star parties everywhere!

And by the way, the illustrations for this post were all taken from my most recently finished "Astronomical Abstract" of the same name...

"Varieties of Light"
Sharpie, Bic pen, and colored pencil, on white paper
dimensions: 16.25 x 10.75 inches

May 5, 2013

Waning Daylight Moon

Ohio finally seems to be warming up after a long gray winter, and my inclination to get out and observe the sky has risen in tandem with every increased degree on the thermometer. BRAS had a nice public viewing night on friday, and for the occasion I finally dusted off the borrowed Dobsonian that's been sitting around in my living room for months...I know, I know...considering how many gorgeous sights there are in the winter sky, this is a real crime.

Anyway...

Friday's sky was not pristine--a little hazy with intermittent clouds--but I was still able to catch some great views of Saturn, the Beehive Cluster, the Stargate Asterism...and (with a little help from another club member), The Sombrero Galaxy, and two members of the Leo Triplet. It turned out to be a lot of fun, and got me thinking even more about getting out for some astronomical sketching.

So, because I often have a hard time waiting around with a bee in my bonnet, I got started this afternoon with a sketch of the waning daytime moon. I got everything situated in the backyard with a little help from Rob (who deserves a gold star for spending a good 10 minutes trying to help me center the scope...which is missing its finder at the moment...on the pale thin crescent), and started sketching. Time passed quickly, and in just a few minutes the moon disappeared behind an evergreen.

Below is the result: sketched in colored pencil on light blue construction paper, features are displayed as I saw them through the eyepiece...so they're upside down.


Here are a few things I'll do in the future to improve the daytime sketching experience...

1. Start earlier! This equals more time to complete the sketch, and less time in the harsh midday sun...though I'm not complaining about the sun or the heat...I promise!

2. Wear a hat. I found that sun on my eyelids prevented me from getting a really clear view of anything, and it's a little bothersome to have to hold my hand up while also trying to keep the paper from blowing away.

3. Wear long sleeves rather than sunscreen...even if it's really hot. The sunscreen left an unsightly oily smudge on one edge of the drawing.

4. Bring out only the pencils I'll need--leave the rest inside. At the end of my session today, some of the colors had begun to shed oil...that's right...my pencils were sweating!

***And one final note, for anyone who might try daytime observing...NEVER LOOK DIRECTLY AT THE SUN!!! And don't let a telescope without a solar filter point anywhere NEAR the sun--keep lens caps and dust covers ON until a safe position is achieved.***